


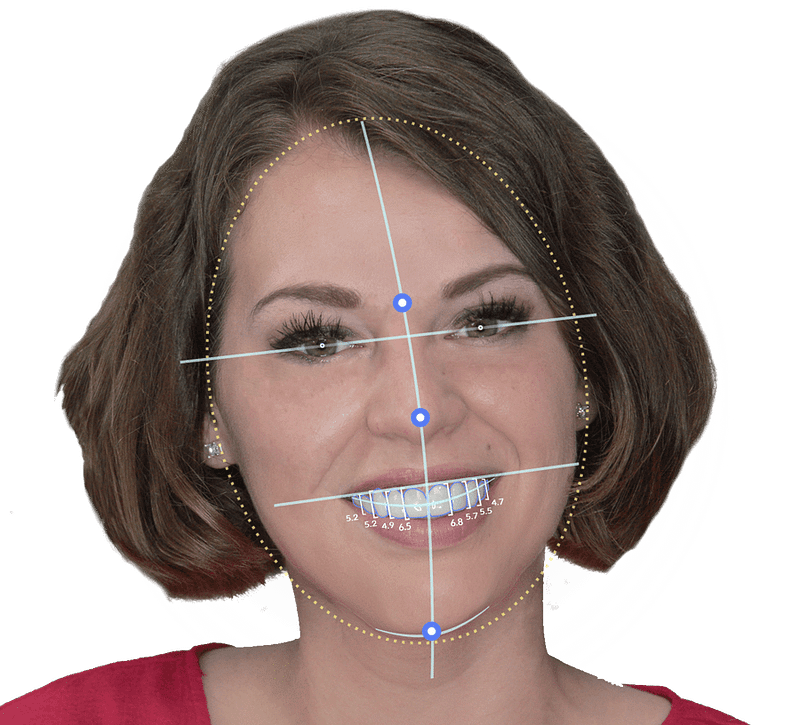
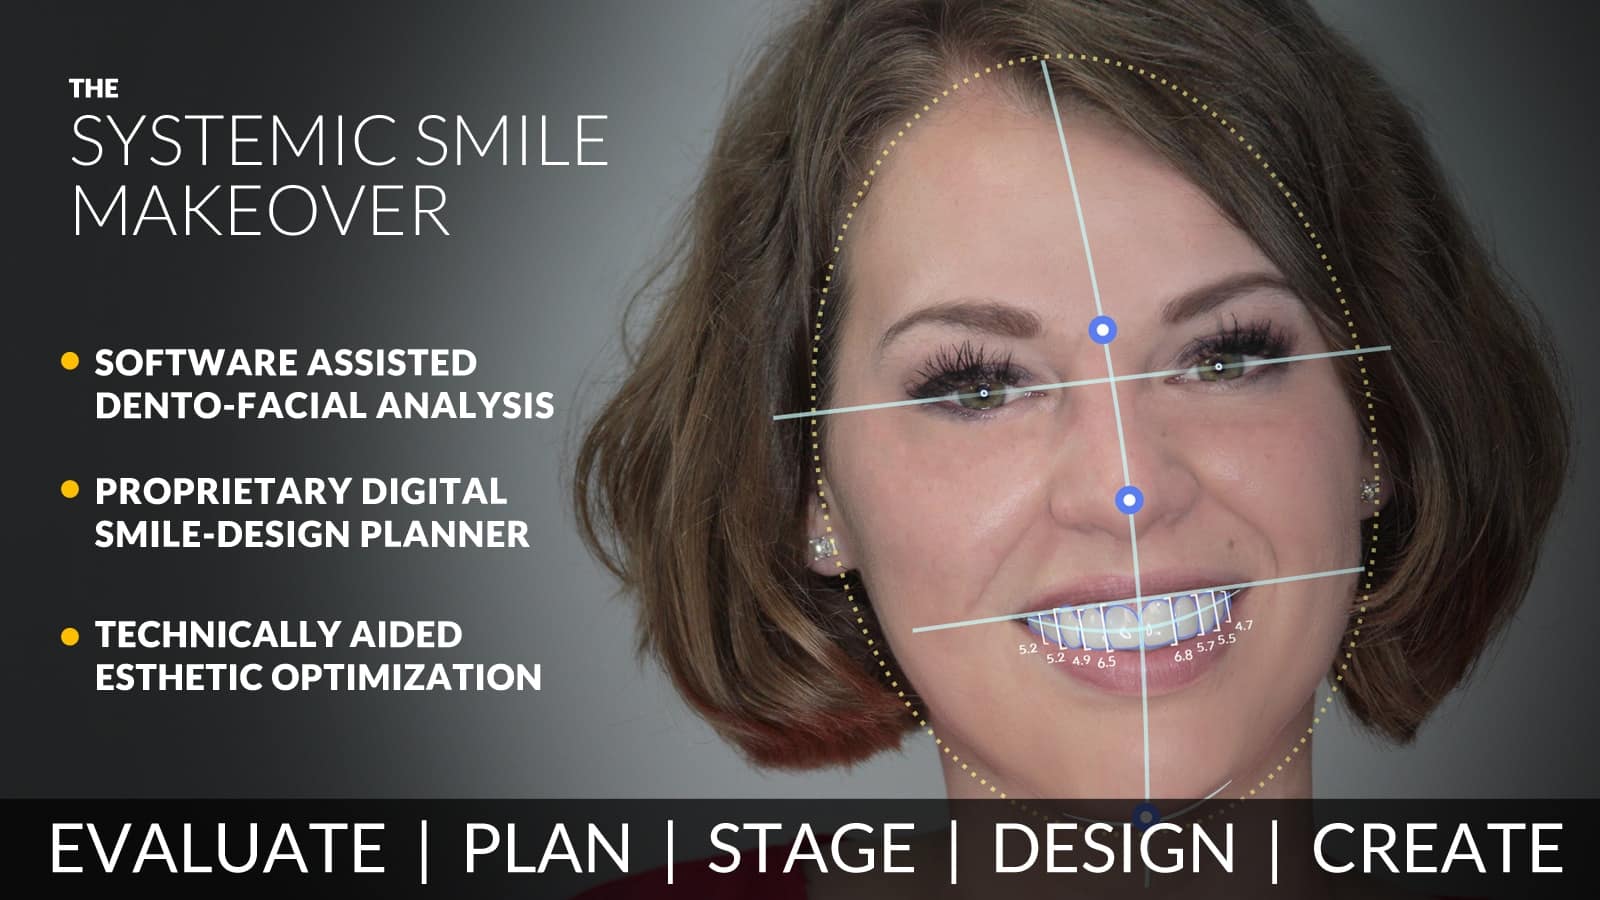
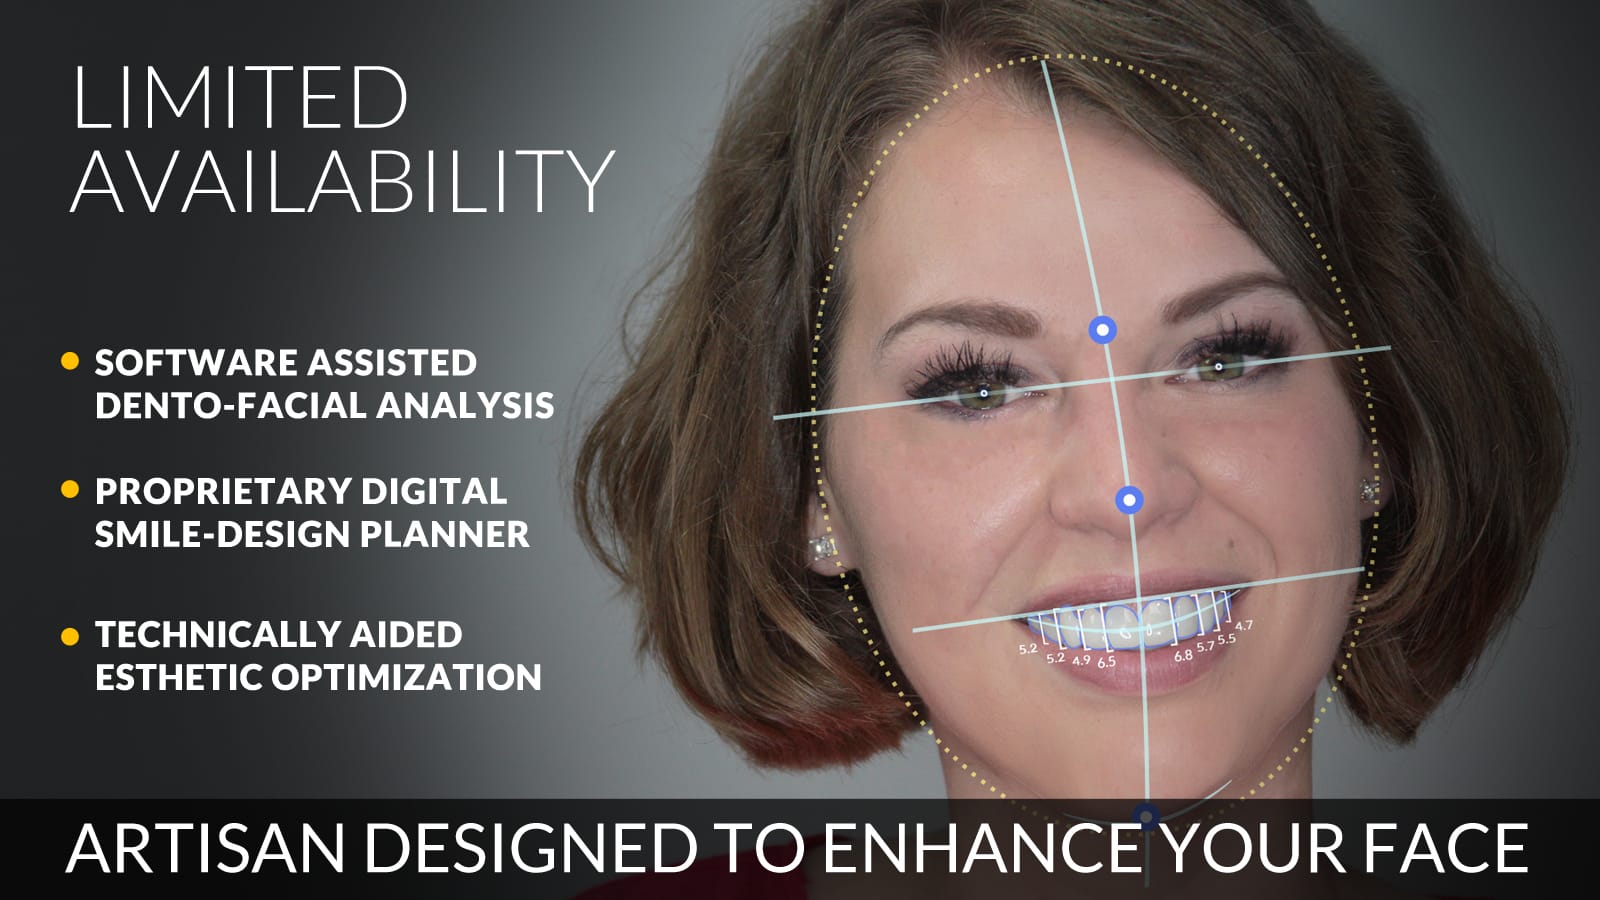
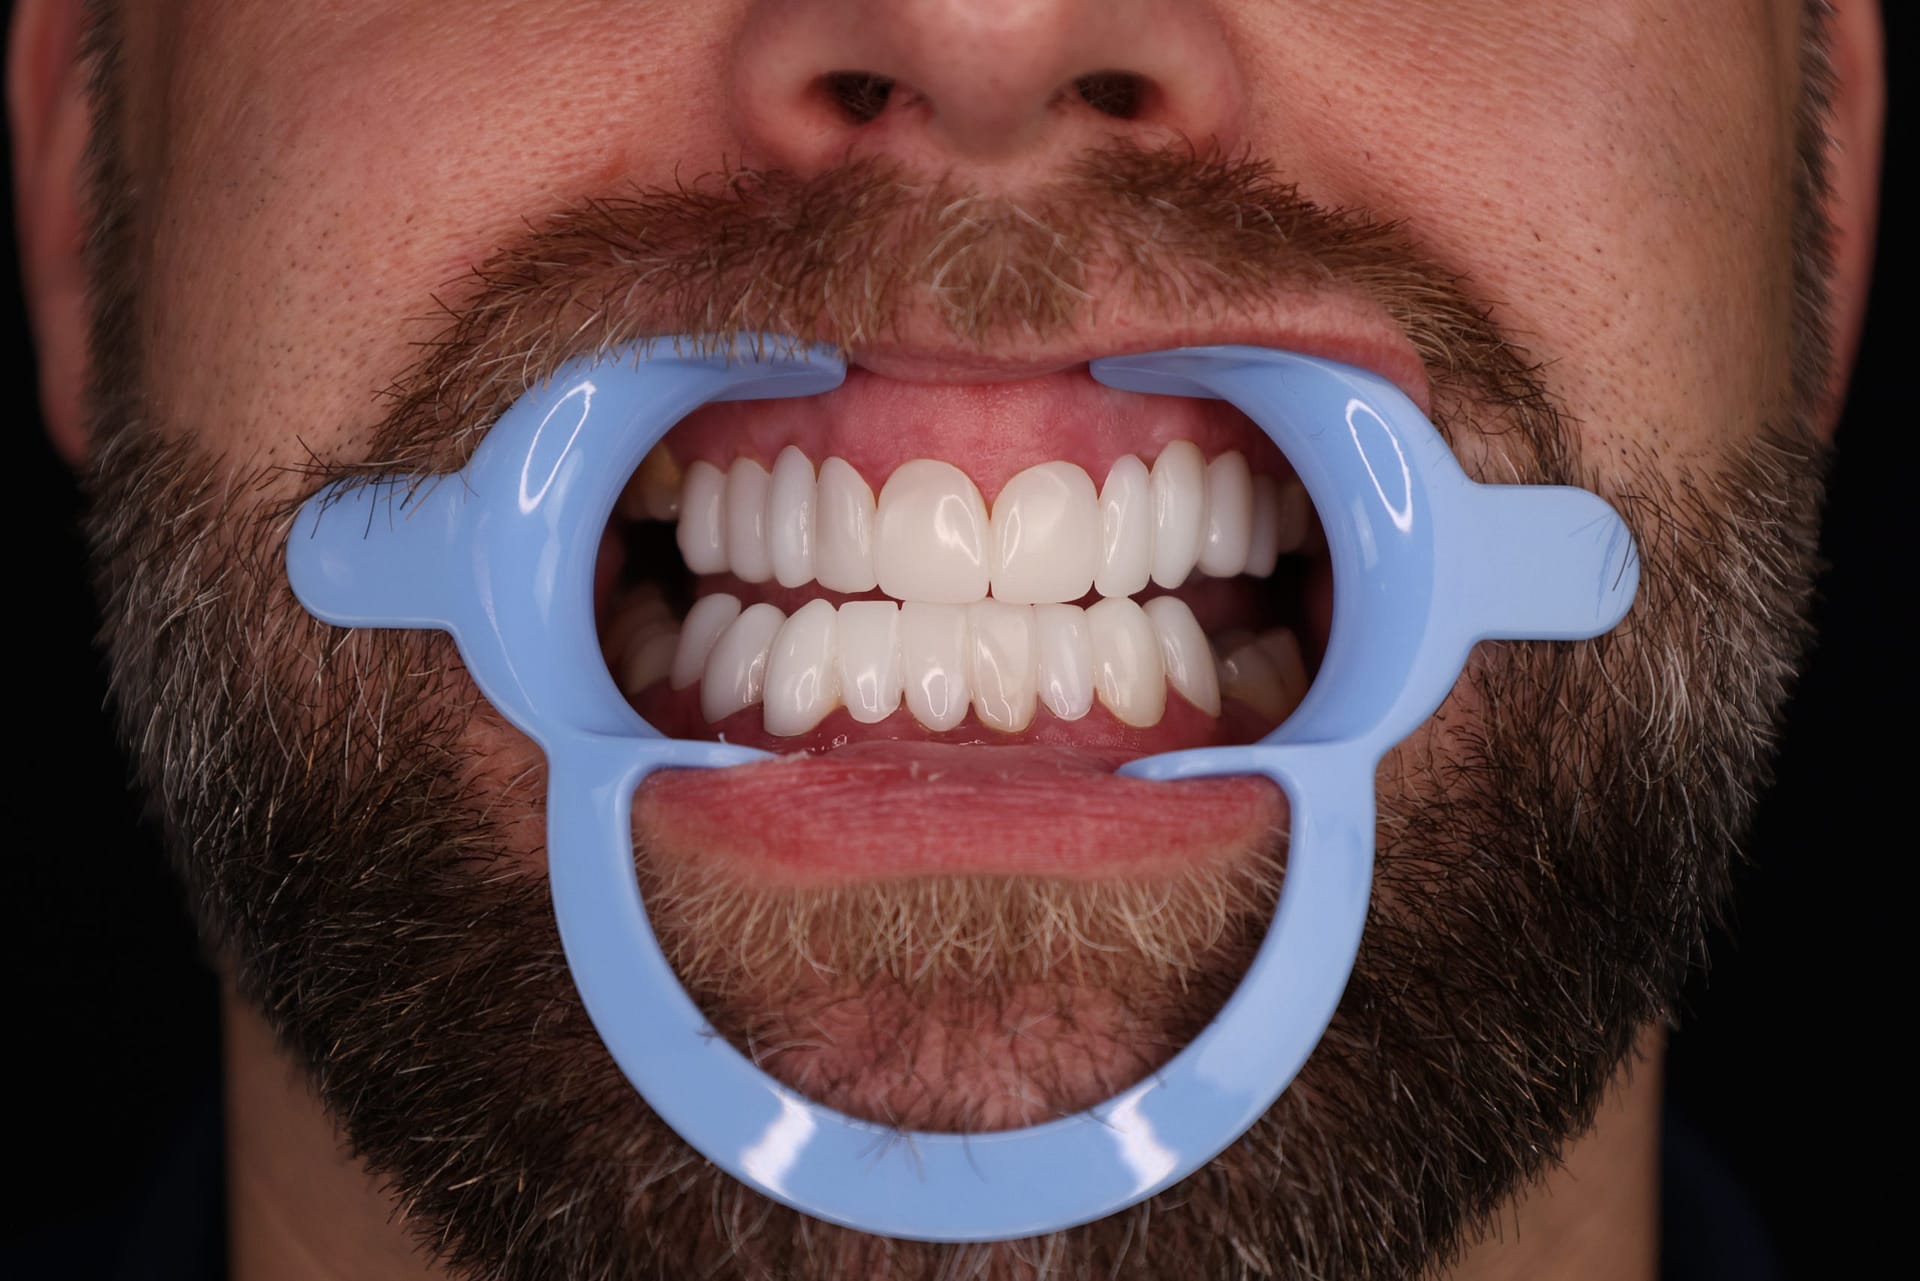
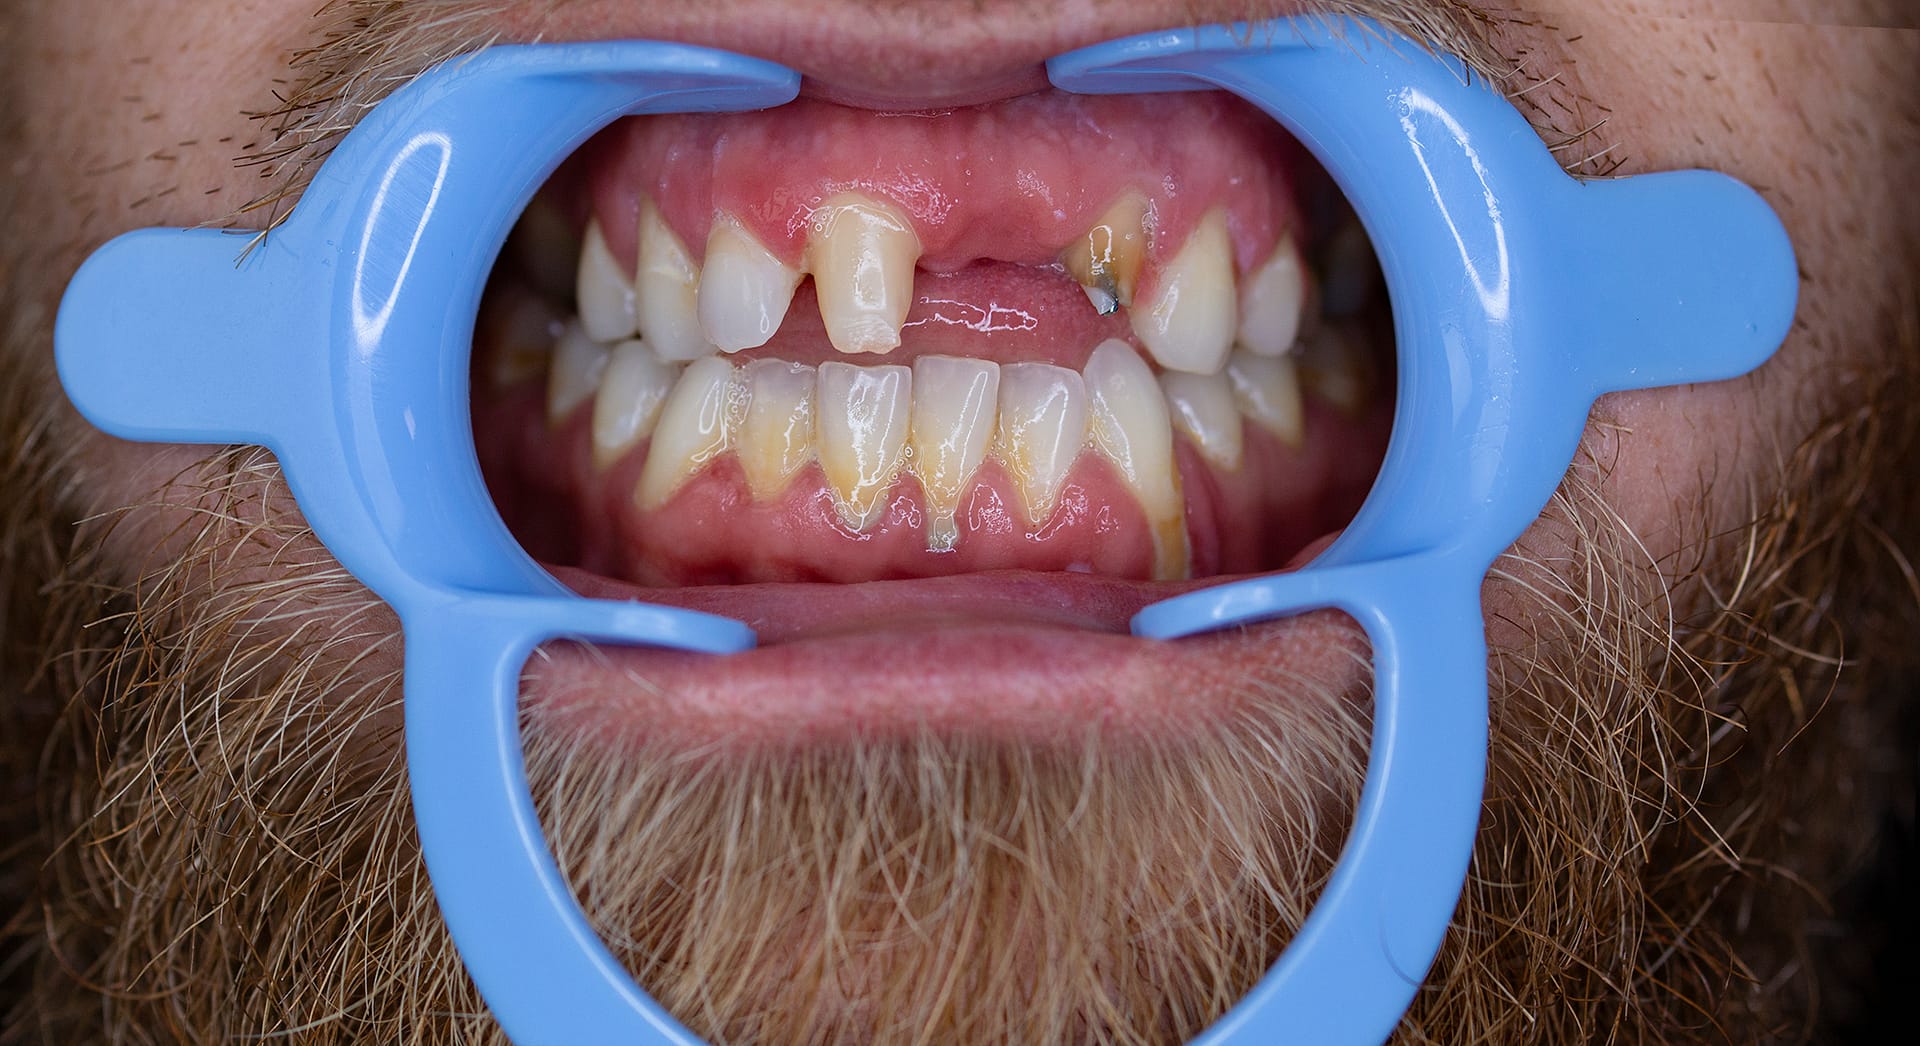
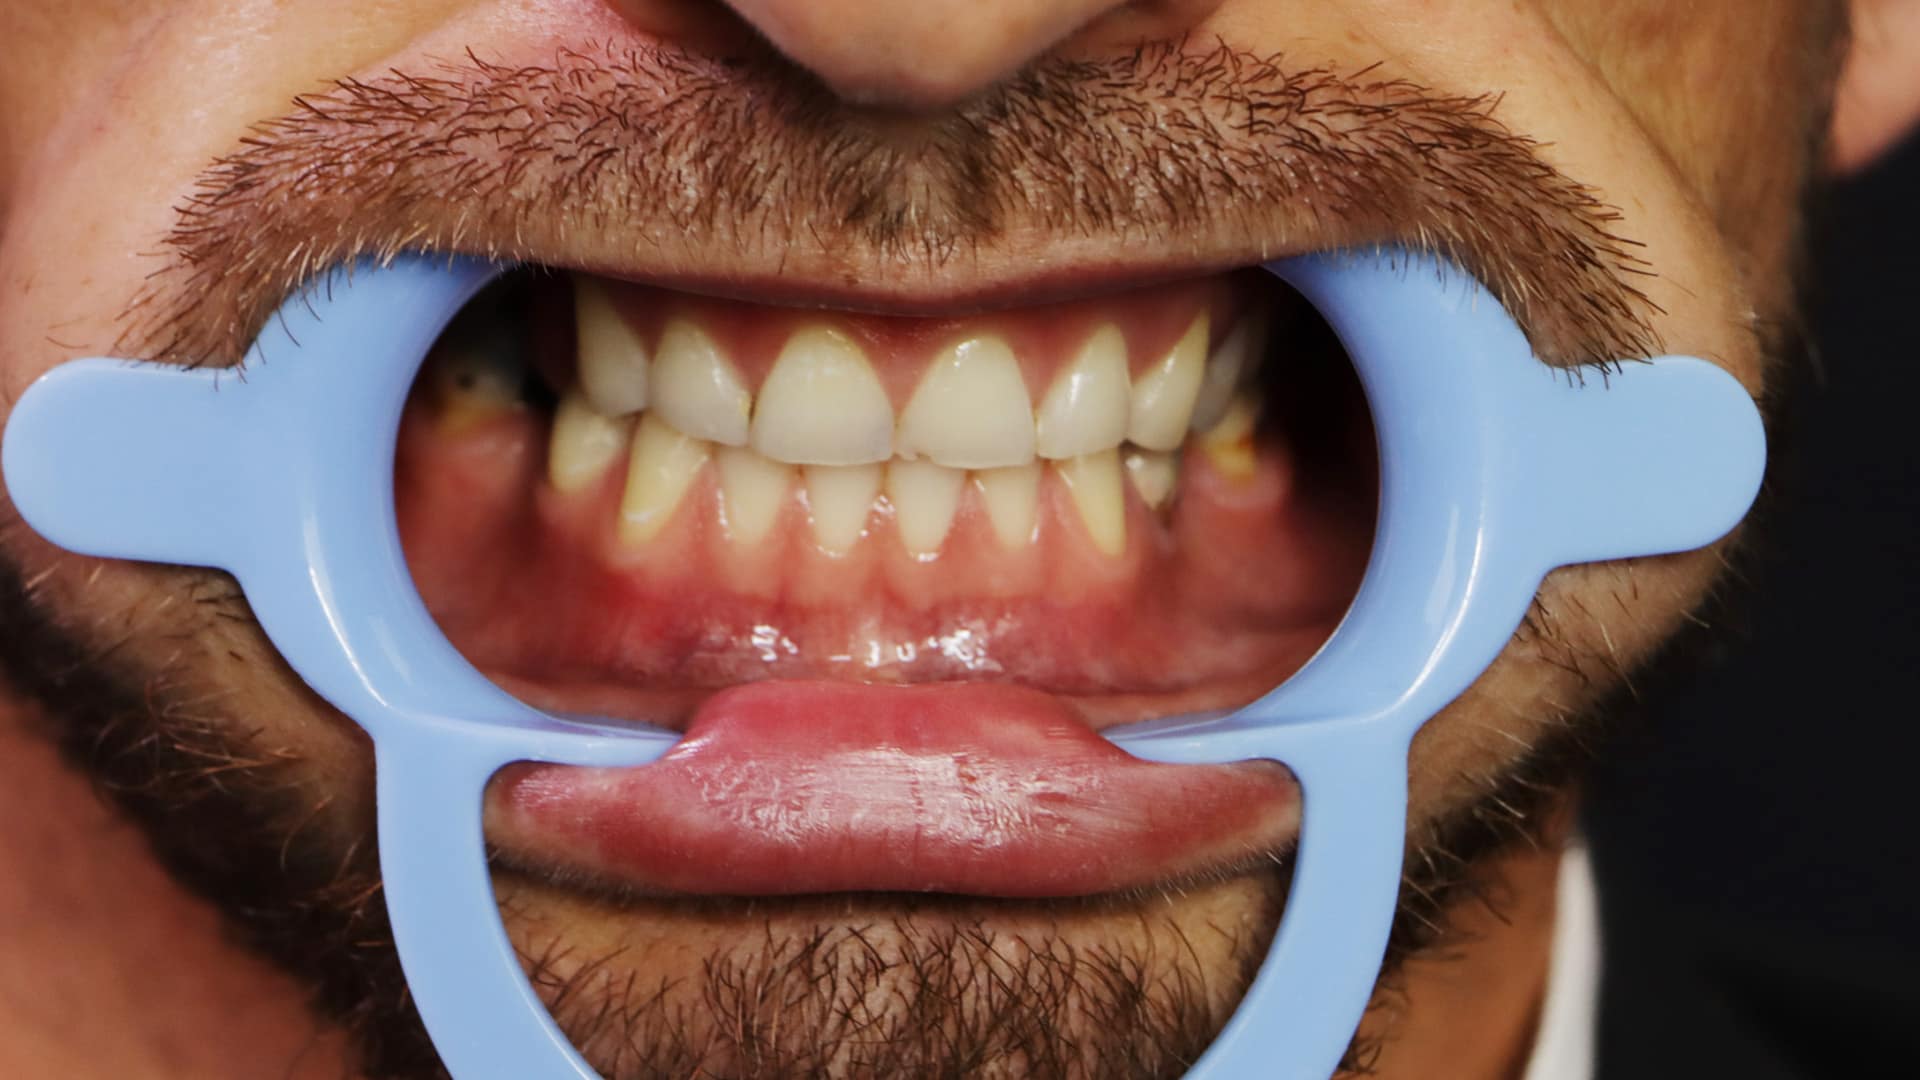
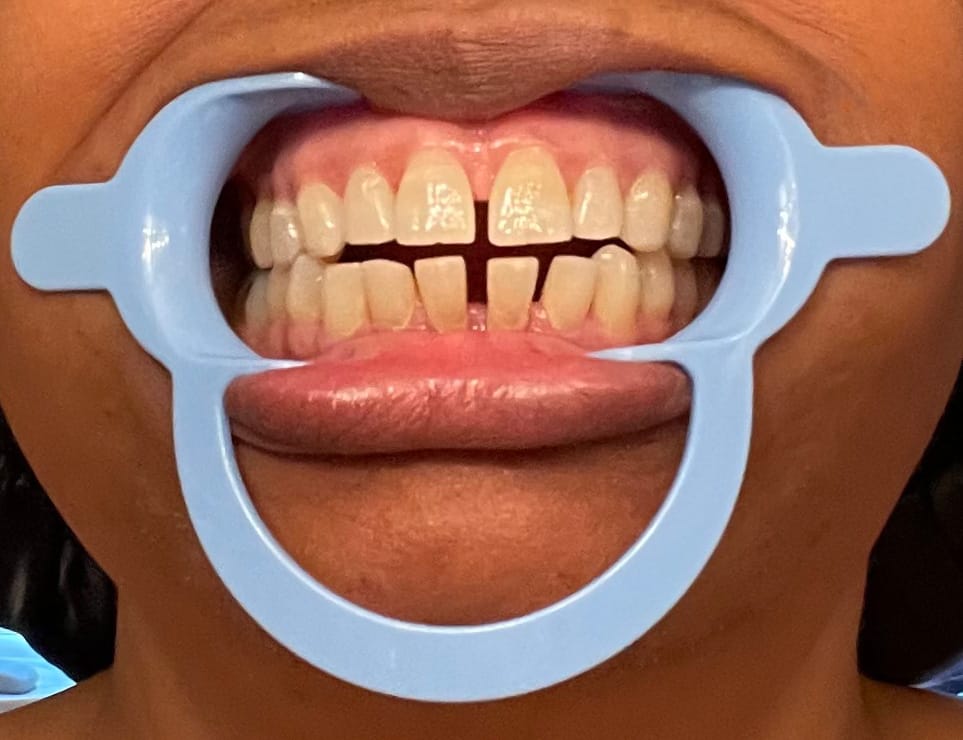
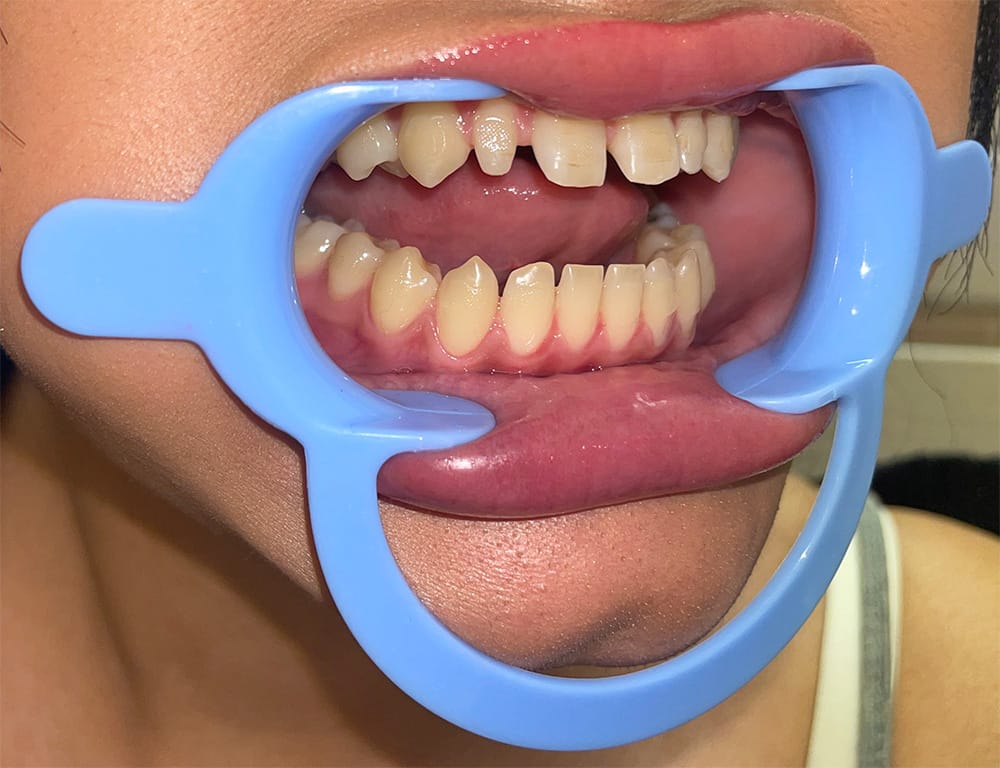
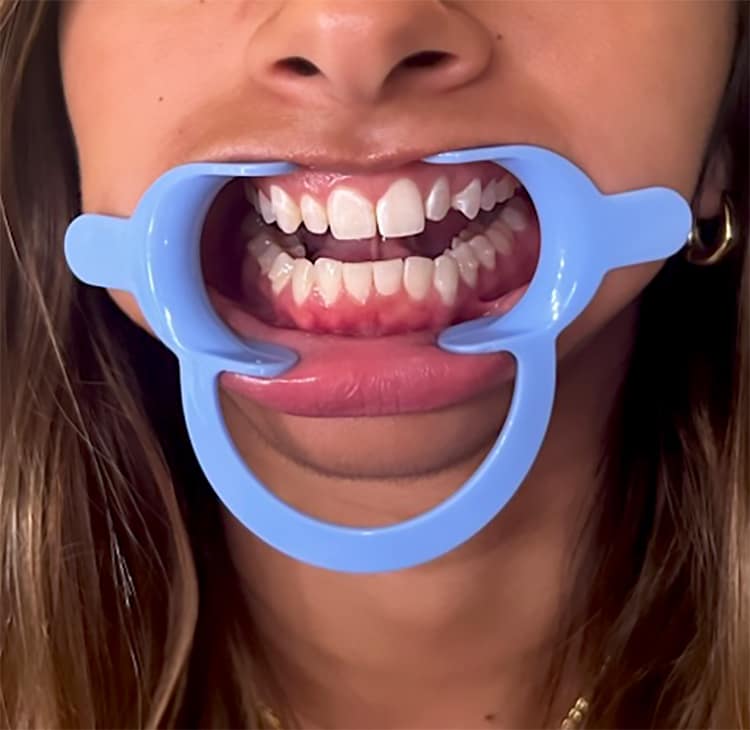
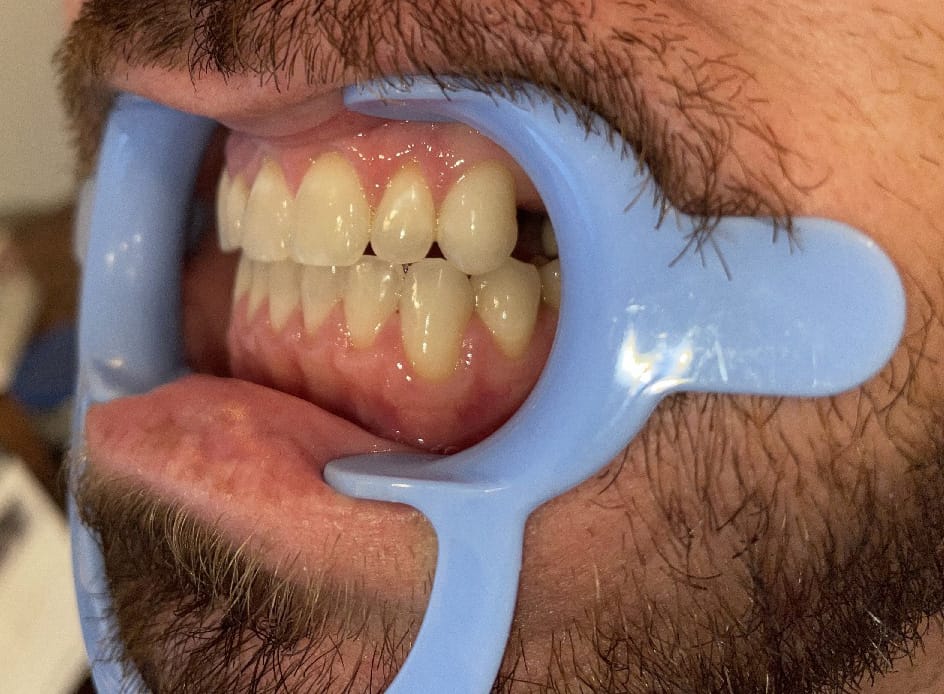
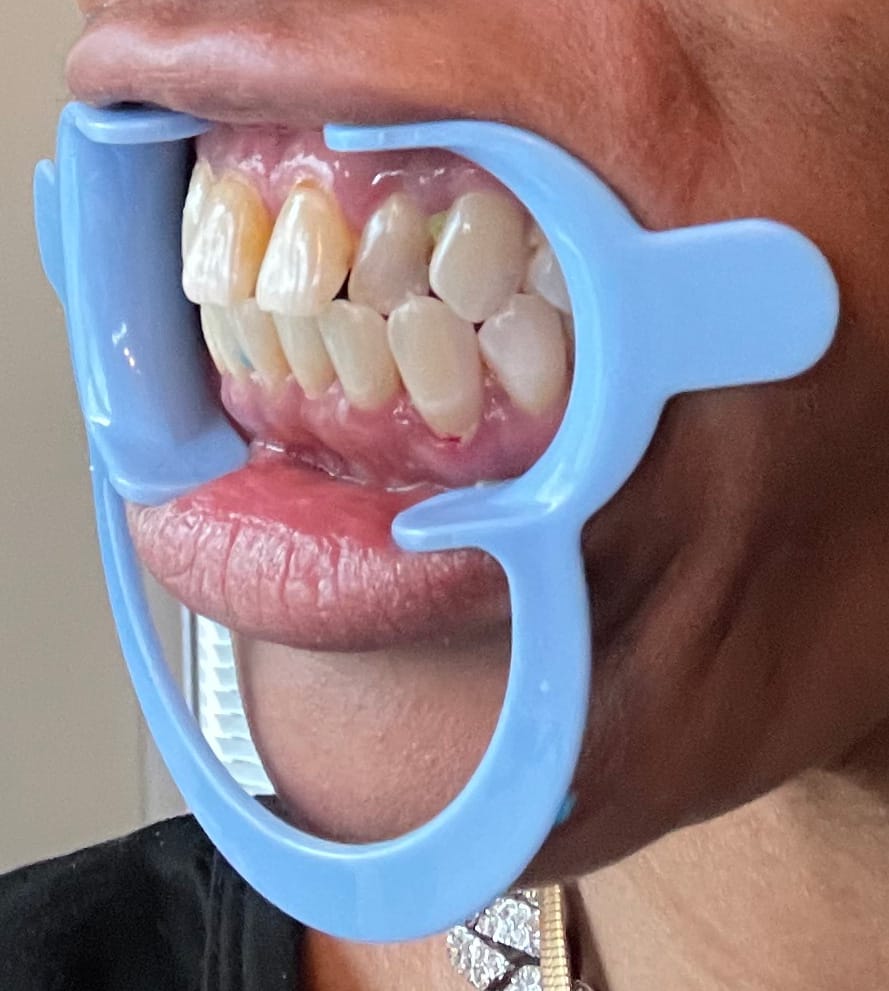
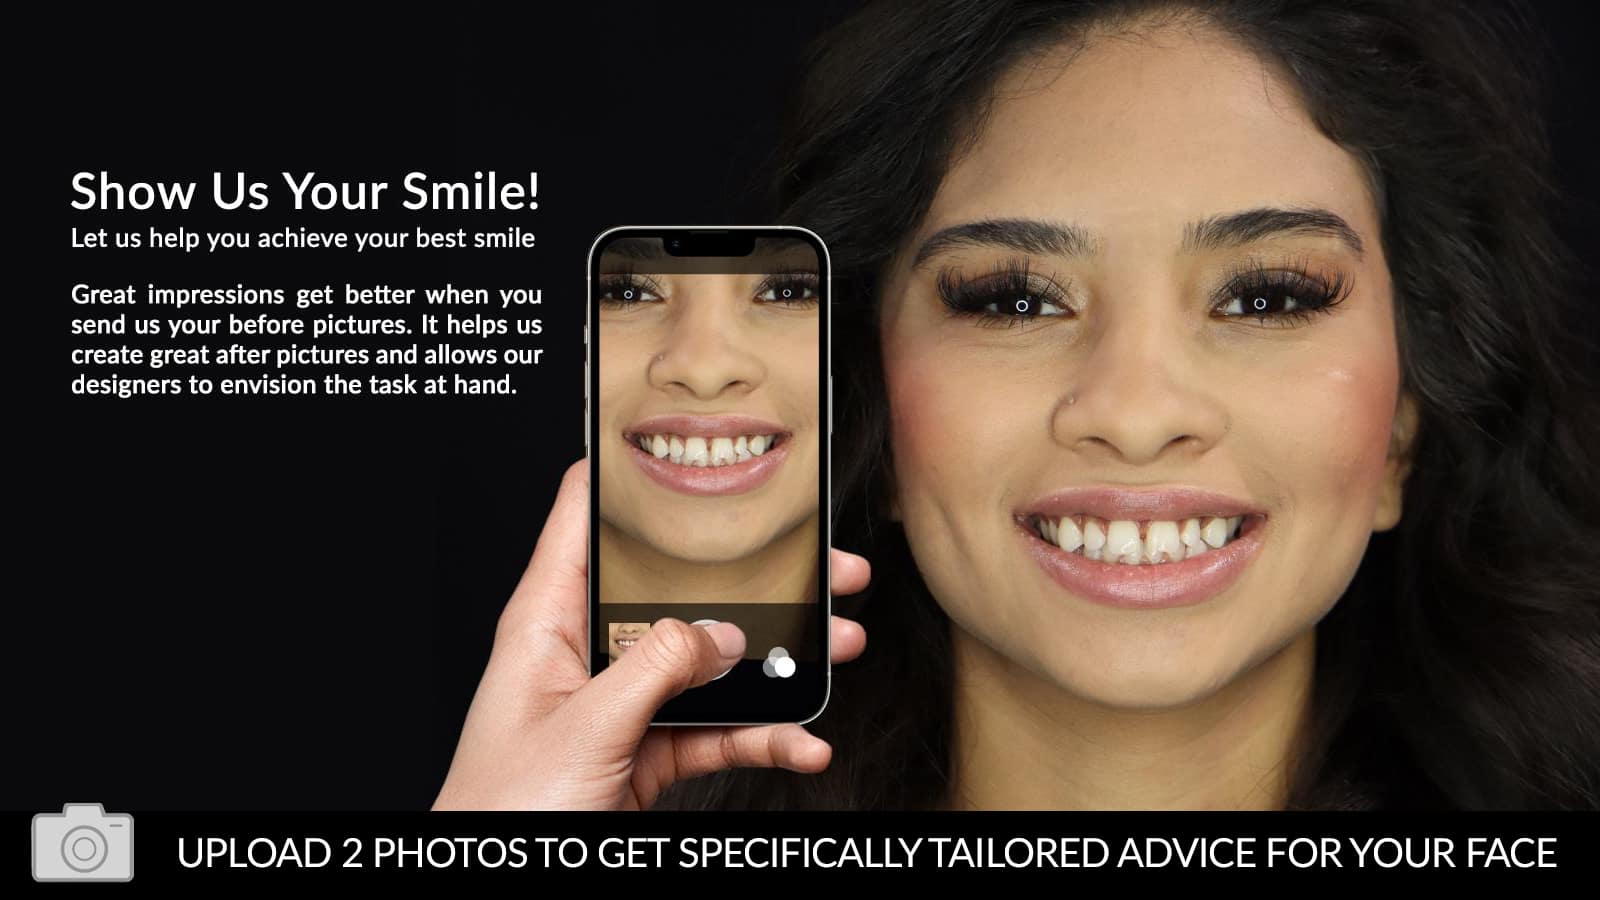
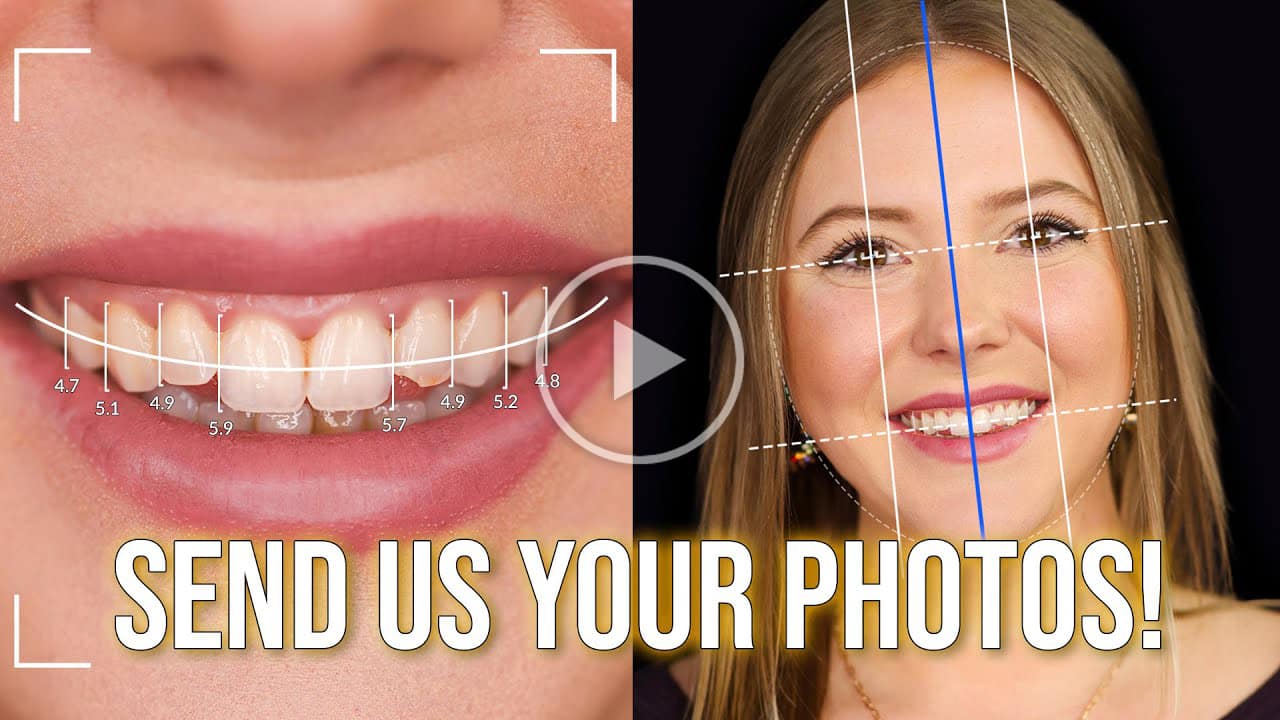
As part of the custom veneer creation process, we require photos of your smile. Our design team uses these images to craft veneers that achieve the most natural, flattering results tailored specifically to your facial features. High-quality photos are essential to ensuring an accurate fit and optimal aesthetic outcome.


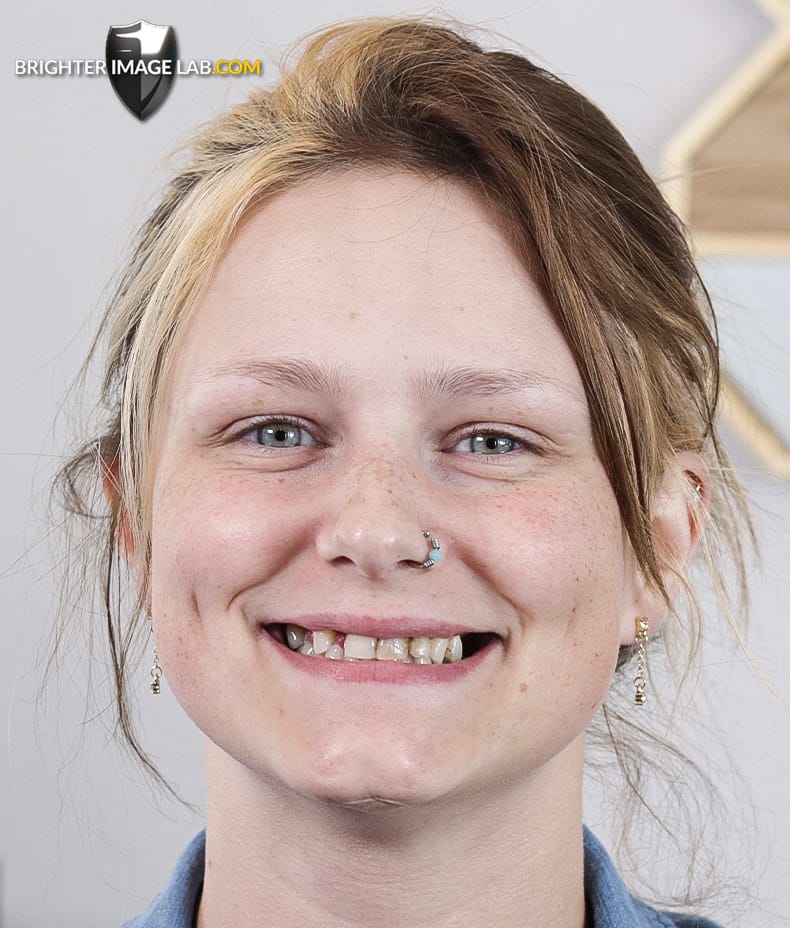
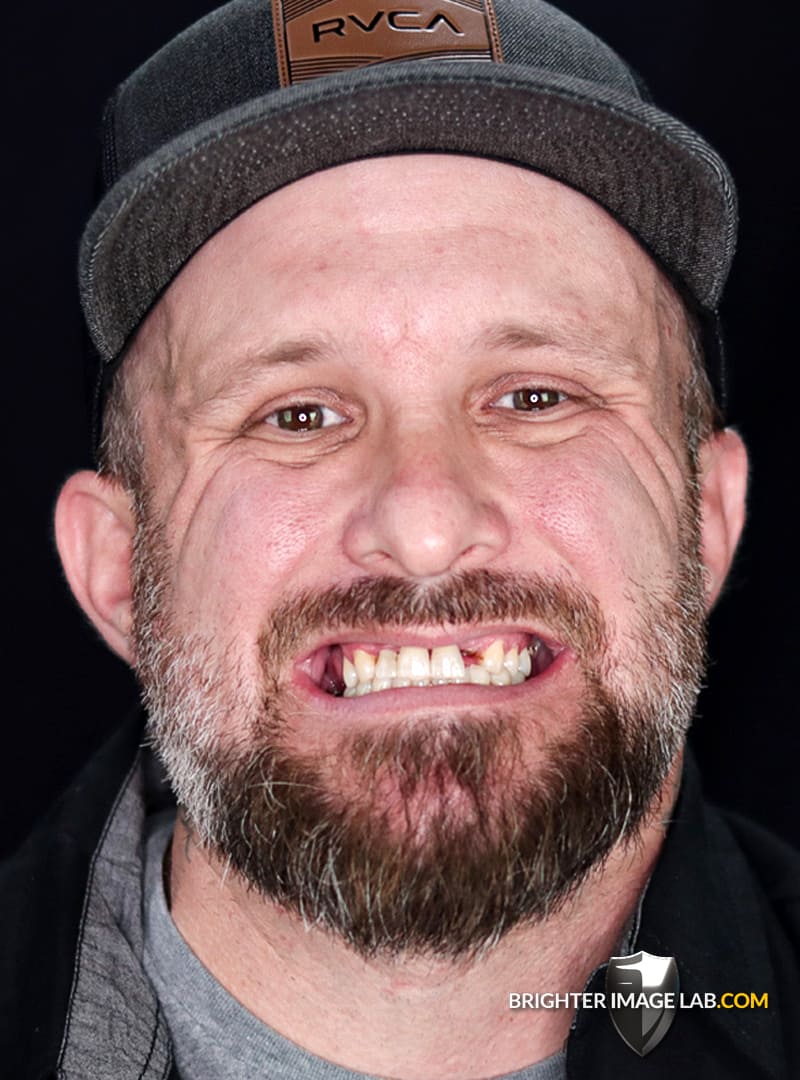
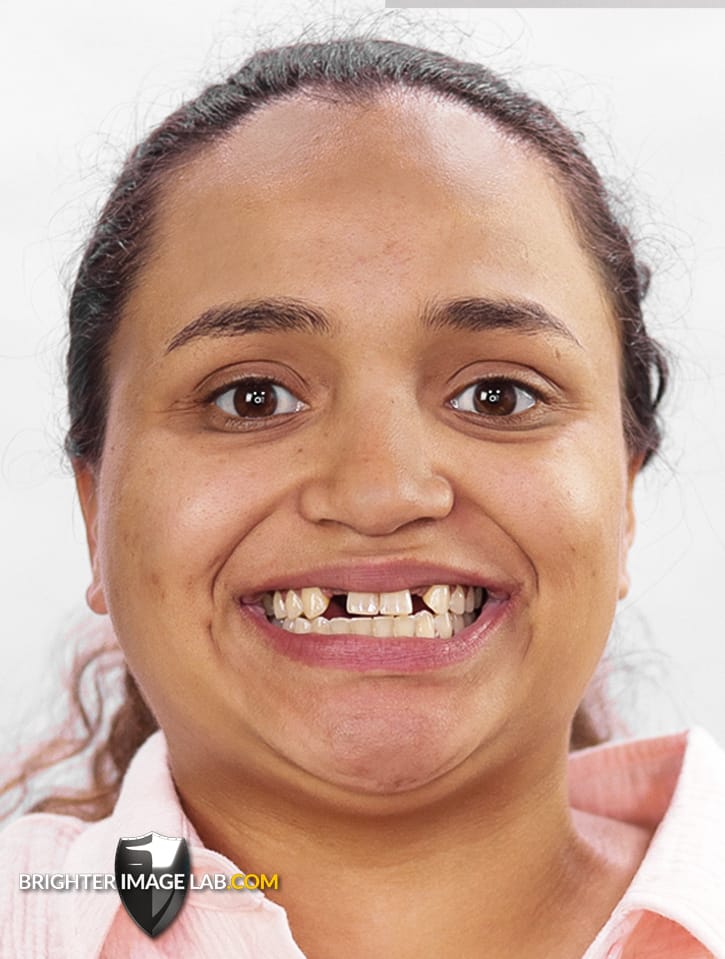
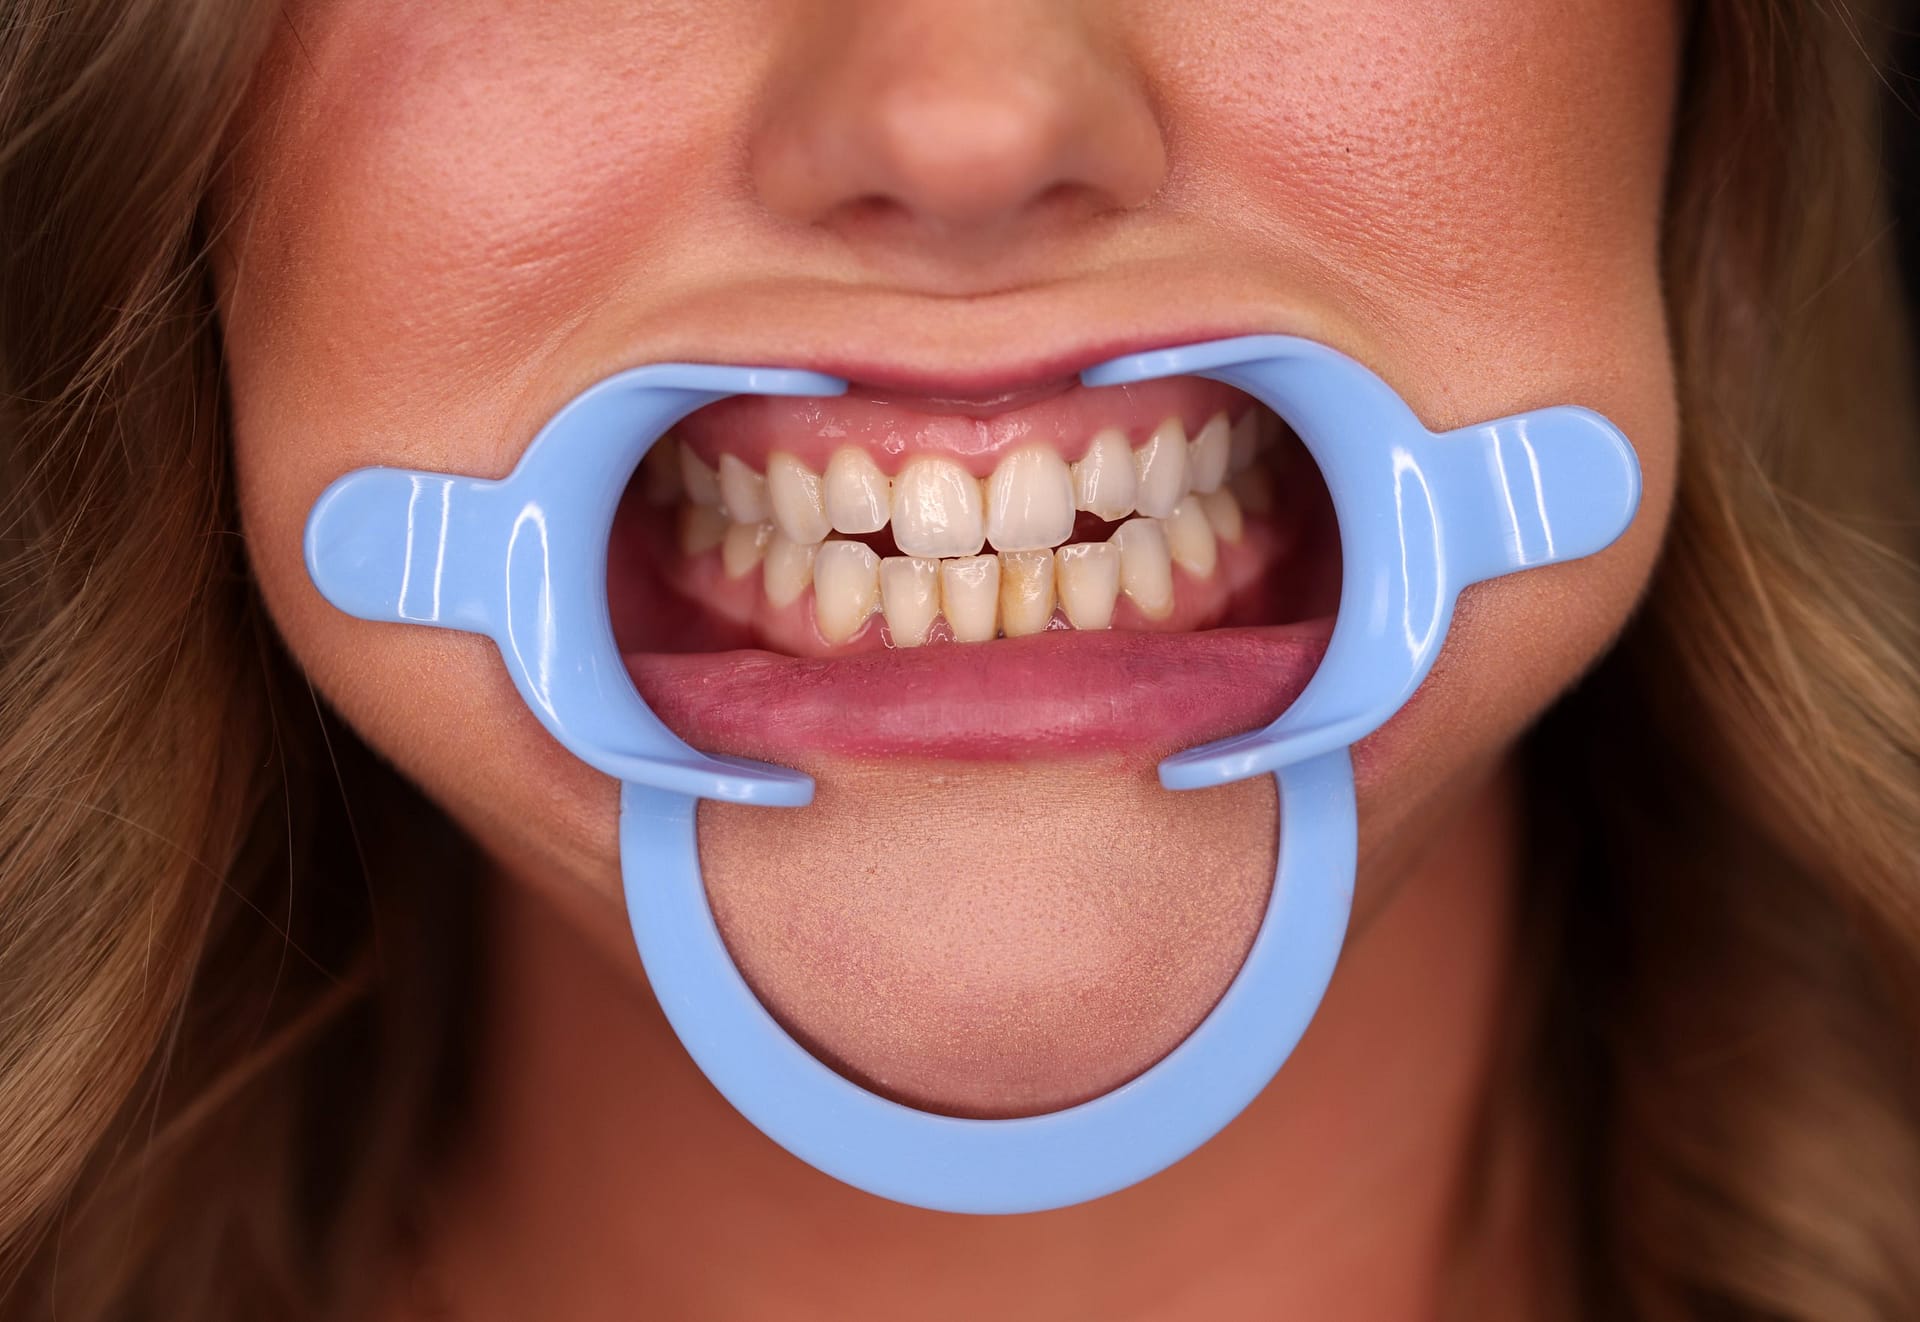
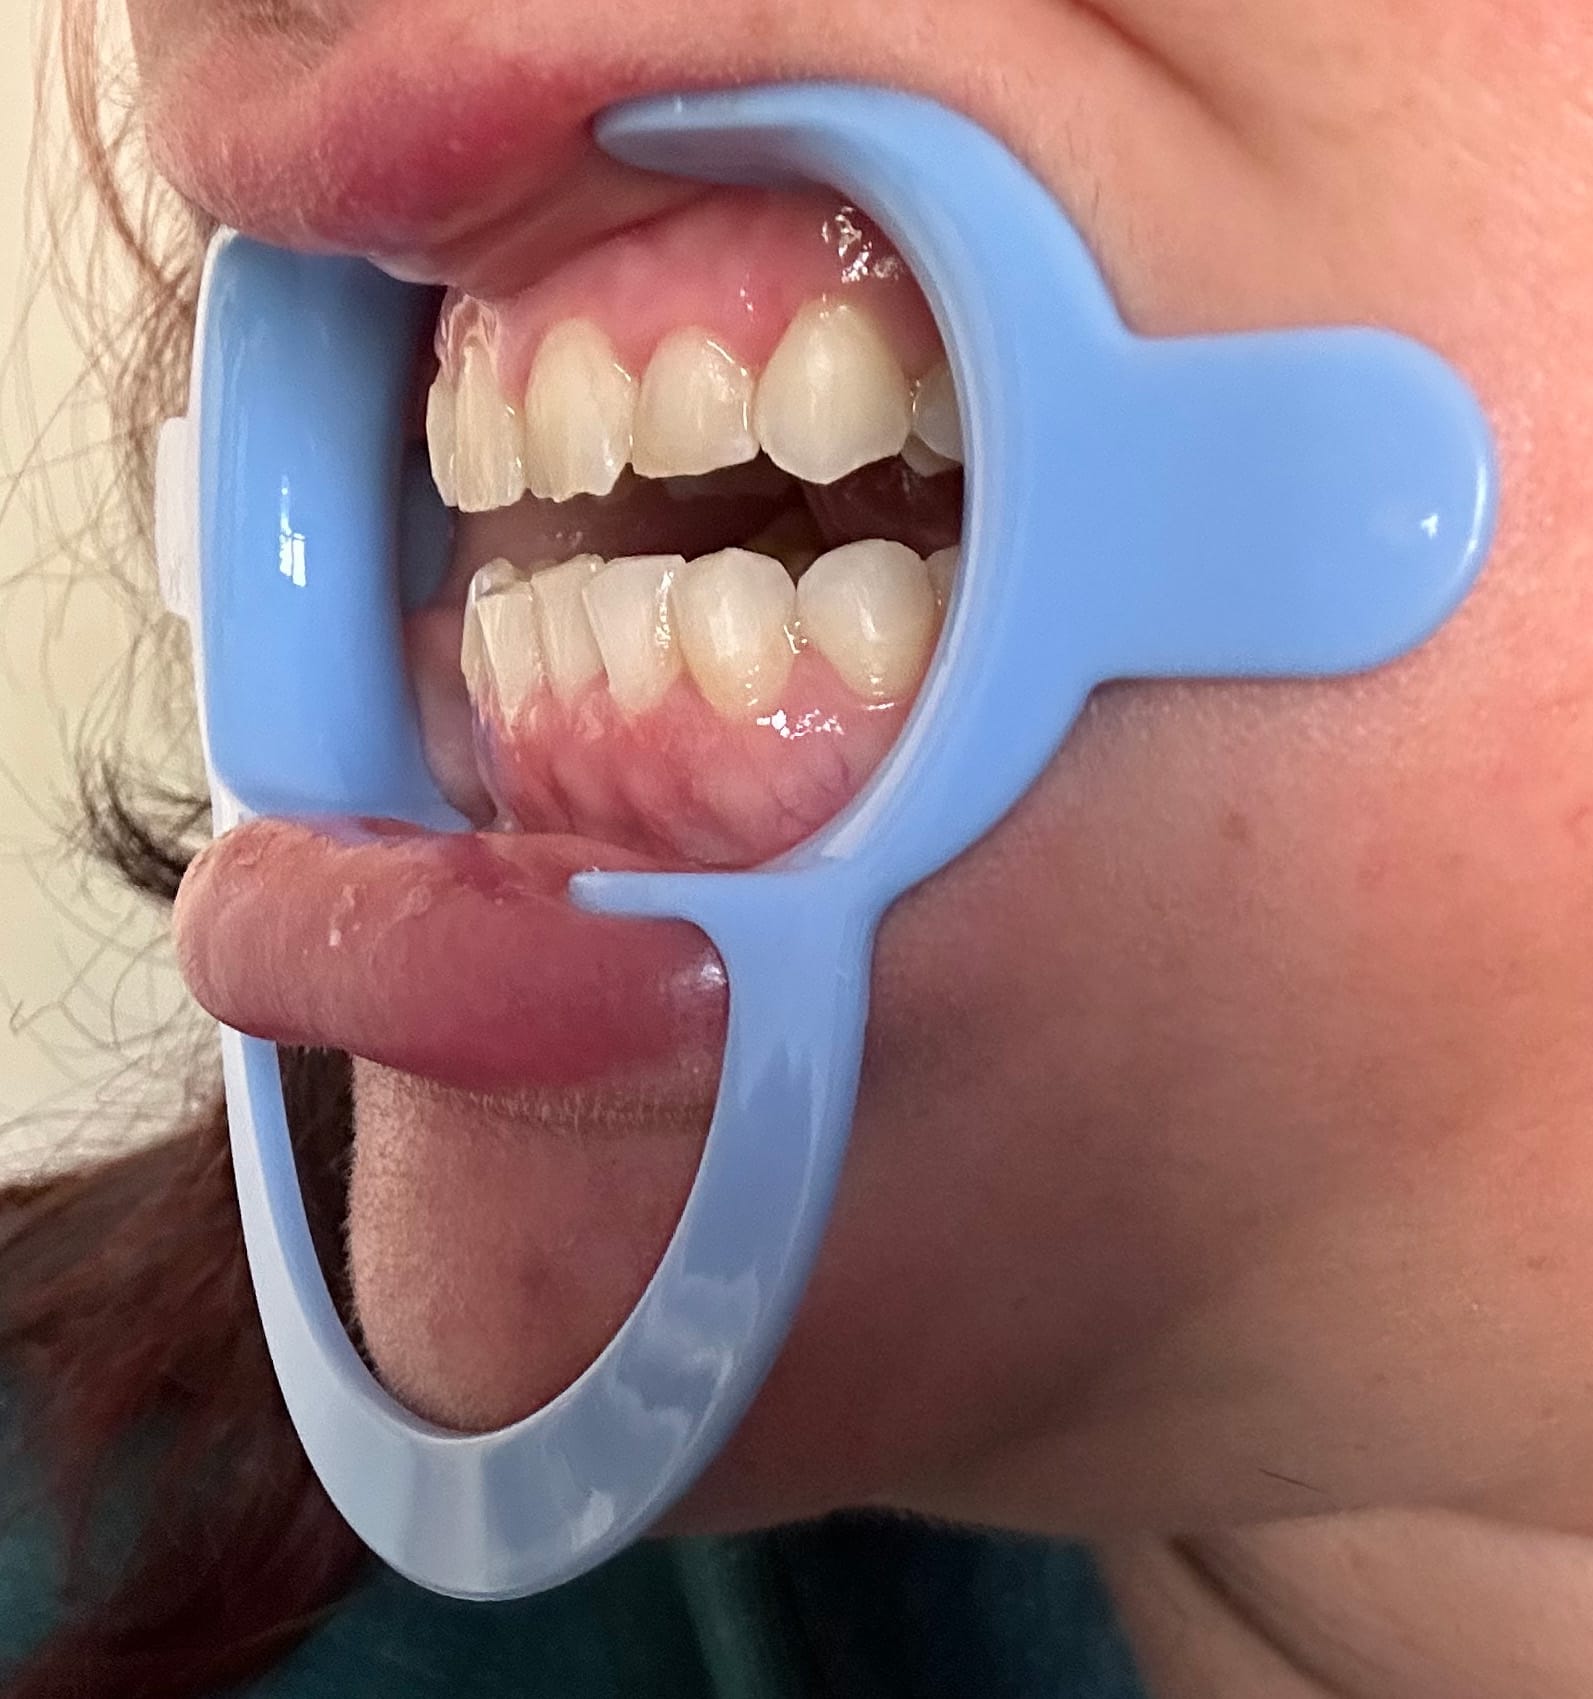
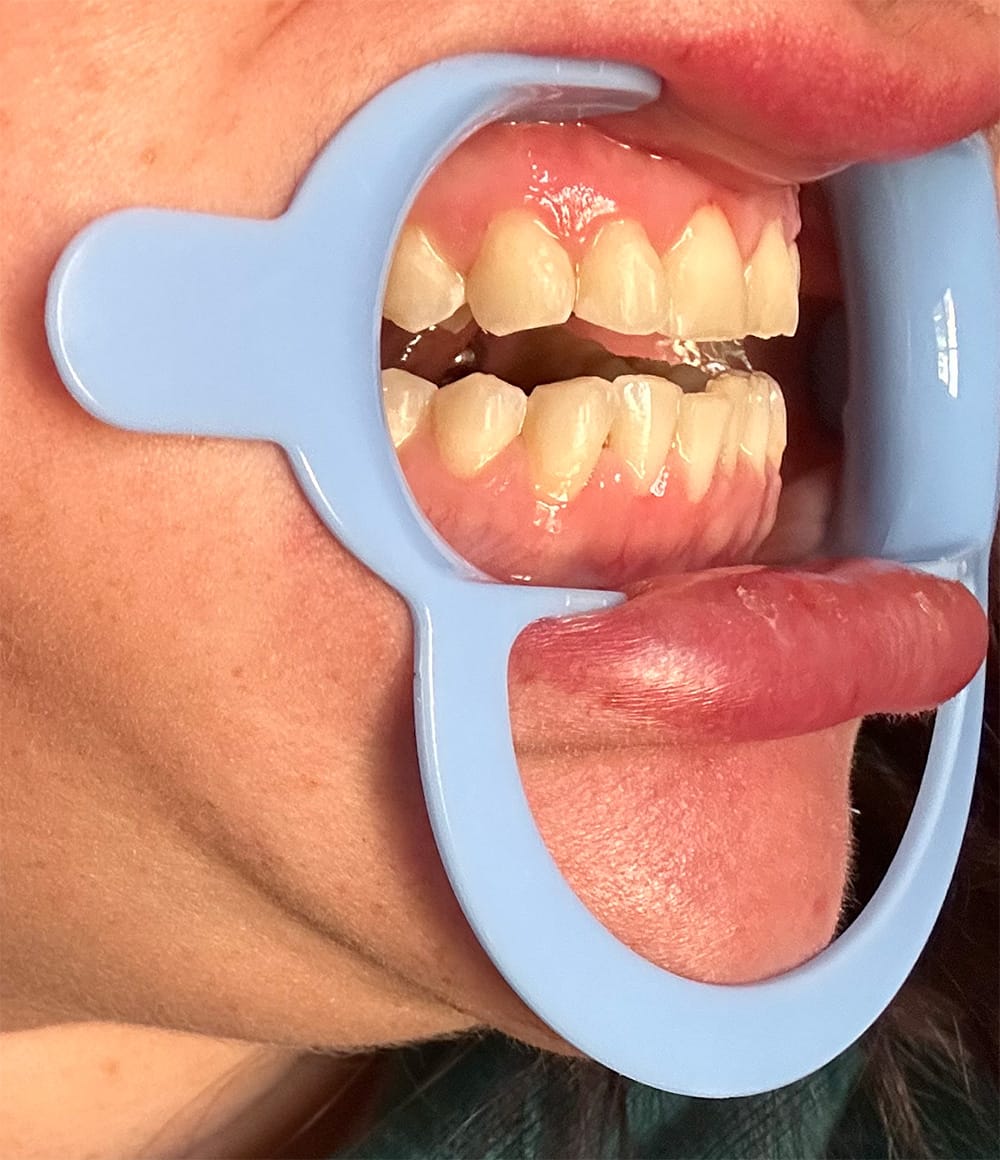
Please upload one close-up photo showing your teeth and gumline, and one full face photo with a natural smile clearly displaying your teeth. To ensure the best results, make sure your photos are well-lit, high-quality, and free of any blur or distortion.
Lighting: Position yourself facing a natural light source when possible, and avoid harsh or uneven shadows.
Image Quality: If using a mobile phone, use the rear camera, as it typically offers higher resolution than the front camera. If needed, ask someone else to take the photo to ensure proper framing and focus.
Clarity: Ensure the image is sharp and free of distortion by holding the camera steady, tapping to focus, and avoiding digital zoom. Do not use filters or edit the photo.
Double-check your photos before you upload—if it’s bright, sharp, and natural-looking, you’re good!
Current Clients: Sign in here, where you can upload photos directly to your account.
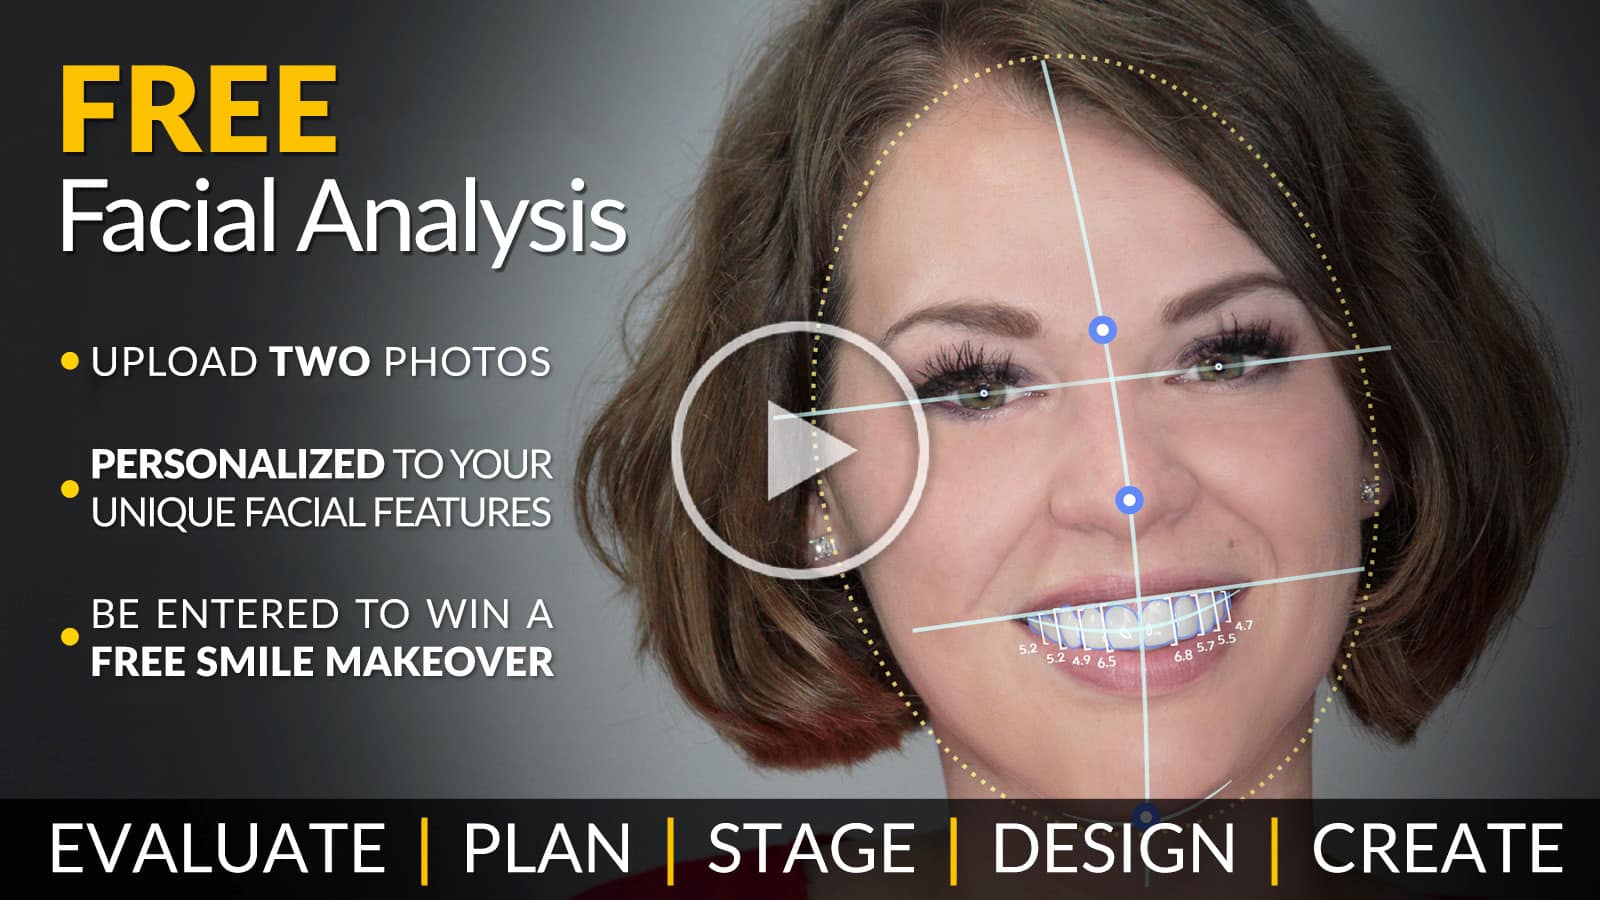
Potential Clients: Complete the Free Facial Analysis Form at the bottom of the page or click here.

See if your question is answered below in our most commonly asked questions or CLICK HERE to view our full page of FAQs.
PressOn Veneers™, BIL Veneers®, and IncrediBIL Veneers®, are removable, ultra-thin removable cosmetic veneers that simply snap over your existing smile, without the need for a dentist visit.
Almost everyone is eligible for removable veneers. When missing, broken, or chipped teeth are involved, our veneers only replace the appearance of these smile issues. If you have a need that exceeds the appearance of your smile, you may not be a suitable candidate.
Click Here for our Smile Assessment Quiz to use as a starting point.
Taking impressions of your teeth is a new thing for most people. We give you enough material to try 3 times, so don't worry if you don't get it right the first time. Read the instructions and watch our videos to help. If you are still worried, call us and we will help talk you through it.
Click Here to visit our Impressions Page for more information and videos.
Visit our True Service Process Page for detailed information about the Lab Direct Process.
Generally we try to ship your impression system same day or the following day. All systems are shipped USPS First Class Priority Mail, and depending on your location, delivery usually takes 1-3 business days. You’ll have as much time as you need to take your impressions, so there’s no need to rush, but just remember that we can’t start work on your new smile until we receive your usable impressions. Plan on the same 1-3 day window for returning shipping.
Once we’ve received usable impressions, Standard Processing takes about 30 days. We also offer 14 Day Express Processing and 7 Day Ultra Express Processing to move your order up in the design queue. But please know that all of these times are estimates, and subject to change – and we do not guarantee delivery within any specific time frame.
For an easy to follow explanation of our process, watch this short video:
Our lab takes every measure to ensure your veneers achieve a precise snap-fit before shipment. However, in approximately 12–15% of cases, adjustments may be necessary. When this occurs, we will remake your veneers— up to two (2) times, at no additional cost.
If a remake is needed, we ask clients to share clear details—notes, photos, or videos—of any fit issues to help our lab achieve the best results. We also recommend calling our Client Services team for guidance before redoing impressions. They can often identify the cause of fit issues in just a quick call.
Please note: due to the extensive time, craftsmanship, and high-quality materials involved in creating each custom veneer, all sales are final. We do not offer cancellations or refunds.
To maintain the longevity, durability, and appearance of your veneers, we always recommend removing them before eating or sleeping. However, many clients comfortably eat with them in place. If you choose to eat with the veneers in place, keep in mind they are cosmetic covers—opt for softer foods and cut items into small, manageable pieces. Avoid hard or chewy foods and always rinse your veneers thoroughly after eating.
While it’s best not to sleep in your veneers, we understand it may happen occasionally. Try to avoid it whenever possible.
To clean your veneers, we recommend putting them in our UltraSonic Cleaner with a denture soak (any generic brand will do). We do NOT recommend brushing your veneers with a toothbrush.
When not in use, store your veneers in their protective case. Avoid putting any excessive stress on them and remember—they are cosmetic covers, not a replacement for the function of natural teeth.
Our veneers wrap around existing teeth, and where teeth are missing, the veneer is solid to create the appearance of a full smile. A minimum of 4 teeth (6 preferred) is needed for proper fit. They cover the front 8–10 "smile teeth," so missing back molars won’t be covered. With less than that, we have difficulty anchoring the veneer properly and creating a perfect fit becomes a problem.
An "arch" refers to either the top or bottom row of teeth. Veneers are created per arch, and crafting both requires double the materials, time, and effort. From time to time, discounts may be offered when both arches are purchased together.
You can find all updates on your order by logging into Your Account.
If you still need help- call, chat, or open a Support Ticket.
For any financing questions, you'll need to contact the finance company directly. You can visit their website at https://mscdevinc.com/ or e-mail them at help@mysmilepayments.com.
Many people choose our veneers over dentures because they’re completely pain-free and require no invasive procedures—no extractions, drilling, or recovery time. Plus, unlike dentures, our veneers don’t cover the roof of your mouth, making them a far more comfortable, livable solution.
They’re also fully reversible. Opting for dentures means permanently altering your smile, but with our removable veneers, you can always choose dentures later if needed.
When it comes to other "snap-on veneers" —they may try to look like us, but no other company really comes close. Unlike our competition, which are usually made from thermoform melted plastic—our products are sold, serviced, designed, manufactured, and detailed right here in the USA – Never outsourced! Even the best knockoffs don’t match our quality, care, and craftsmanship.
Click Here to learn more about why you should choose Brighter Image Lab.
PressOn Veneers™, BIL Veneers®, and IncrediBIL Veneers® are cosmetic devices designed exclusively to improve the appearance of your smile. While they can effectively cover missing, chipped, or discolored teeth, they are intended only to enhance the look of your smile—not to serve as a dental treatment or functional replacement.
If your needs go beyond cosmetic enhancement, removable veneers may not be the right solution for you. As a design and smile lab—not a dental practice—we do not diagnose or treat dental conditions.
Please note: due to the extensive time, craftsmanship, and high-quality materials involved in creating each custom veneer, all sales are final. We do not offer cancellations or refunds.
For full details, please refer to our Terms & Conditions
If you are an existing client and need to upload photos to your account, click this button.
Select the station you heard us on below to enter to win a FREE Smile Makeover!

Select the station you heard us on below to enter to win a FREE Smile Makeover!


Brighter Image Lab provides life-changing smile makeovers to thousands of clients every year.
We also partner with a non-profit named New Life Smile who matches people like you, with public and private funding sources to hopefully cover a portion (if not ALL) of your smile makeover costs. We’re ready to help right now!
We’ve already given away free smiles to people in your area and we’re ready to do a lot more!
